Instagram

How to Check the Date of When You Joined Instagram

It might be because I’ve built a career in digital marketing, but I can clearly remember when I joined Instagram. No, no, not the exact date, but the time in my life.

At the time, I was the proud owner of a popular food blog based in Charleston, South Carolina. Any means of sharing my blog posts was a win. While I primarily shared my posts through Facebook, the rise of Instagram gave me another avenue in which to share my musings.

But a few times, I’ve wondered, “When did I even join Instagram?”

I can quickly Google “When did Instagram come out?” and find that the app launched on October 6, 2010. And because I’ve always been an early adopter when it comes to new social media apps, I can guess that I joined not long after the app’s launch.

But if you find yourself asking the same question, I’m here to help.

Fear not, fellow Instagram user, for the answer to this social media mystery lies within the app itself.

There’s no need to scour the internet for cryptic clues or dig through ancient emails (although a trip down memory lane with those early welcome messages might be fun!). This method will work whether you have a creator account or a business account.

Here’s the exact date you became an Instagram user, revealed in a few simple steps accessible through the mobile app:

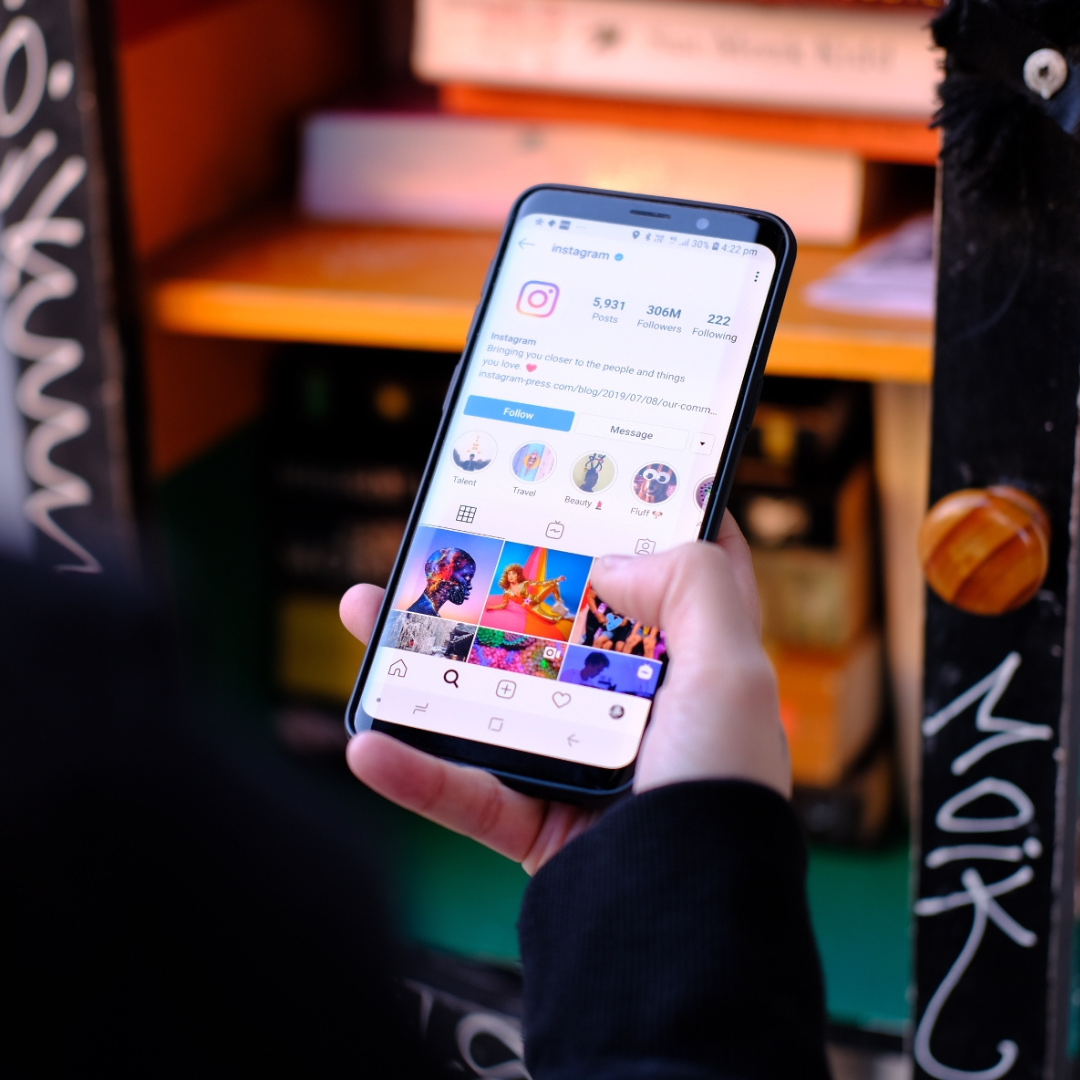
  1. Dive into Your Profile: Open the Instagram app and tap on your profile picture in the bottom right corner. Here, you’ll see your Instagram profile.
  2. Navigate to the Settings Menu: Look for the three horizontal lines stacked neatly in the top right corner. This icon is your gateway to the settings menu.
  3. Unlock Your Account History: Within the settings menu, scroll down until you find the “Your Activity” section.
  4. Delve into Account History:  Under “Your Activity,” you’ll see a treasure trove of options related to your account. Tap on “Account History.”
  5. Behold! Your Creation Date: Scroll down to the bottom of your account history. Nestled amongst username changes and bio updates, you’ll find the answer you’ve been searching for: “Account Created,” followed by the exact date you joined the Instagram community.
  6. Important Note: This is the only way to pinpoint your exact Instagram account creation date. While some social media platforms might offer a glimpse into your approximate join date or first post, Instagram keeps the precise date securely within the app.

Bonus Tip:  Feeling sentimental? Use your newfound knowledge to revisit your first post (hopefully, it wasn’t a blurry picture!). You might be surprised (or maybe slightly embarrassed) by your early Instagram days.

Additional FAQs:

  • What about my former usernames? Unfortunately, the account history doesn’t display your past usernames. But hey, maybe a friend remembers your pre-glow-up username!

  • Can I find out if someone else joined Instagram? Respecting user privacy, Instagram doesn’t allow you to see another user’s account creation date.

  • What if I can’t remember my login details? Fear not! The Instagram help center (https://help.instagram.com/) is here to guide you through password recovery.

The Long Way (for the Particularly Curious):

While the above method is the best way to find your Instagram creation date, let’s explore some (slightly less efficient) options for the truly curious:

  • Searching the Facebook Registration Confirmation:  If you linked your Instagram account to a Facebook account, you might be able to locate the Facebook registration confirmation email. This email might hold a clue to your Instagram’s birthdate, but it’s a long shot.

  • Welcome Email Hunt:  For new users bombarded with active ads back in the day, there’s a chance you received a welcome email from Instagram. Sifting through old emails might unearth this digital birth certificate, but be prepared for a potential dead end.

The Bottom Line:

Your Instagram creation date, a cherished piece of your social media history, awaits within the app. Forget the search bar, simply follow the easy steps and unlock a trip down memory lane. Now go forth, fellow Instagram user, and explore your digital beginnings!

How to Add Instagram Filters to Photos in Your Camera Roll

When the Instagram app launched back in 2010, I was delighted. I still remember the brown Instagram camera app logo. When I first found out about the app, I rushed to the App Store, quickly hit that download icon, and signed up for an Instagram account. I remember thinking, “I bet I’m one of the first Instagram users in the world!” Ha.

How to Add Instagram Filters to Photos in Your Camera Roll

At the time, I was running a food blog, which had me taking a ton of photos. Whether it was snapping pictures at local restaurants or in my own kitchen, I quickly delved into the world of food photography. And I’ll be honest, it wasn’t easy at first. I struggled to use my DSLR correctly, having difficulty understanding different lighting conditions and how to shoot in them properly. At home, I struggled with overhead fluorescent lights and small windows in my old apartment. This led to dim-lit, blurry photos that were just… not great.

Instagram’s launch garnered a lot of attention from creatives, in particular, amateur and professional photographers. I considered myself an amateur photographer back then and was excited to be able to share some of my work. But I was a little timid back then, too. I wasn’t confident that my pictures were good enough to share.

How to Add Instagram Filters to Photos in Your Camera Roll

Enter Instagram filters. Now, amateur photographers like myself were given an easy way to apply a filter to a photo on our camera roll. And voila – it became art!

Back in 2010, Instagram featured just a few filters. These filter names include Normal, X-Pro II, Loml-fi, Earlybird, Lily, Poprocket, Inkwell, Apollo, Nashville, Gotham, 1977, and Lord Kelvin. Today, there are a ton more. Over 25 filters, to be exact!

The Evolution of Instagram Filters

Back then, Instagram filters were bold and dramatic and offered a unique vibe. While some of those classic filters are still around, the app now offers a broader range with more subtle and artistic effects. You can find filters that enhance warm hues, create a vintage feel, or add a touch of light and airiness – perfect for travel photos!

Ready to kick your photos up a notch?

Today, I’m giving you a step-by-step guide on how to apply your desired filter to your Instagram posts.

Finding the Perfect Filter for Your Existing Photo

There are two main ways to achieve this filtering magic, both accessible from the bottom of the screen. Here are the detailed steps:

First Way: Using the Filter Carousel

  1. Open Instagram and click the plus icon at the bottom middle of the screen.
  2. Select a new photo from your camera roll.
  3. Tap next.
  4. At the bottom, swipe left to check out all of your available options.
  5. Think of each of these as a preview page for each of the filter thumbnails. Swipe through to see the different effects each of the available filters has on your photo.
  6. Not quite sure which filter is right for you? Tap and explore different filters until you find the perfect match for your photo’s vibe.
  7. Once you have chosen the right Instagram filter for your photo, tap next.
  8. Voila! The Instagram filter has been applied to your photo.

Second Way: Using the Edit Menu for More Control

  1. After selecting your existing photo from the camera roll (as explained in the first method), you’ll notice a small settings icon in the bottom left of the filter thumbnail.
  2. Now, you have the option to refine your photo further.
  3. To make even more changes, tap on “Edit” at the bottom left to access various editing tools, like Brightness, Congrats, Structure, Warmth, Saturation, Color, Fade, Highlights, Shadows, Vignette, Tilt Shift, and Sharpen. These options give you so much control over your photo.
  4. Once you’ve made all your changes, tap Next to finish your post.

How to Add Instagram Filters to Photos in Your Camera Roll

Adding Instagram Filters to Instagram Stories

Use the following steps to add a filter to your Instagram story.

  1. Open Instagram and click the plus icon at the bottom of the screen.
  2. Tap story.
  3. Swipe up to choose an existing photo for your story. Alternatively, you can click the square box at the bottom left corner of the screen, which opens your phone’s photo gallery.
  4. Swipe left to preview the entire filter carousel. There are many different filters for your story. As of 2024, the Instagram story filters include Paris, Los Angeles, Oslo, Lagos, Melbourne, Jakarta, Abu Dhabi, Buenos Aires, New York, Jaipur, Cairo, Tokyo, and Rio de Janeiro.
  5. Once you find a filter that makes your photo pop, tap on it to apply it.

Bonus Tips:

  • When posting a story, you can tap “Your Stories” to share it with all followers or “Close Friends” to share only with a select group of friends.
  • Clarendon is one of the most popular Instagram filters in the United States. Other popular filters include Gingham, Juno, Lark, Mayfair, and Sierra.
  • Consider using a third-party photo app like Snapseed, Adobe Lightroom, VSCO, PicsArt, and Facetune for even more Instagram effects. These apps offer various editing and special effects features.

How to Add Instagram Filters to Photos in Your Camera Roll

Using Instagram Filters Creatively

Don’t just pick a filter and slap it on! Filters can be powerful tools to enhance specific aspects of your photo. Want to make your food photography more mouthwatering? Try a warm filter that emphasizes those delicious colors. Going for a vintage vibe? A black-and-white filter might be the answer. Play around with filter intensity as well—a subtle filter can add a touch of mood, while a stronger filter can create a more dramatic effect.

With these simple steps, you’re on your way to making Instagram photos and Instagram videos that pop! Remember, it’s all about personal preference. Experiment with different filters to discover which ones best complement your photos. Remember, there’s no single “right” filter – it all boils down to the vibe and the mood you want to create.

Do you have more Instagram questions? How can I better help you navigate the Instagram app? Leave any comments below, and I’d be happy to create a tutorial for you!

12 Ways to Increase Engagement on Instagram Stories

Want to get more engagement on Instagram Stories? Me too, girl. Me too. Instagram Stories are a fun and effective way to engage with your audience. Only about 10% of your following will actually see your static posts, so bumping up Stories is a great way to keep your audience engaged.  Over 500 million users are watching Instagram Stories every day. That’s a lot of potential followers. Today I’m sharing some of the best strategies to getting more views and boosting your overall engagement on Instagram Stories.

  1. Make your stories a STORY. Create slides that have a clear beginning, middle, and end. This will help your stories have a clear purpose and likely keep viewers engaged til the very end. Make your stories unique.
  2. Don’t repost the same content you’ve shared everywhere else. Mix it up and give your audience a reason to watch. My favorite things to share on Stories include behind-the-scenes of what I do. Not only does this help my audience get to know me, it shows potential clients the projects that I’m working on.
  3. Know what content resonates with your audience. Figuring out what your followers enjoy seeing the most will really pay off when it comes to views and engagement levels. Use your analytics to learn about your top-performing content to tailor what you post. Make sure to look at both views and exit rates.
  4. Collaborate with other brands and users. Whether you host an Instagram takeover or lead an Instagram Live with a friend, collaborations are a great way to capture the attention of more than just your own audience. It also mixes things up for your audience and keeps things fresh. Make sure the partnership is mutually beneficial and something both your audiences will like.
  5. Use hashtags in Stories to increase your reach. Not many people realize that you can add hashtags to your stories. This will increase the chance your content is discovered by new audiences. When people are searching for a hashtag on Instagram, they’ll be able to view current, real-time stories on that hashtag’s page. Heads up! You can add up to 10 hashtags to a Story or include one using the Hashtag Sticker. Don’t want your Stories to appear cluttered? Hid them behind GIFs or change the text color so it blends with the background.
  6. Repost user-generated content (UGC). For brands, sharing UGC is an easy way to expose your audience to how customers are using your product or service. Not only do people like seeing content shared by others’, but the original poster will get credit for the content that they’ve shared. In addition, when you let your audience know that you share UGC, your followers are more likely to share content about your product.
  7. Use the Poll Sticker. The poll sticker is a great way to let your followers share their opinions — which people just love to do! On top of this, the poll sticker will also allow you to gain insights on your followers likes and dislikes. You can use this voting sticker to learn what your audience wants to see what type of content they like best.
  8. Use the Quiz Sticker. Both brands and personal accounts can use the quiz sticker to educate their followers on their products, service, or anything else you want them to know. Use this as a teaching tool so your audience can get to know you better.
  9. Use GIF Stickers. No matter what you’re sharing, there’s bound to be a GIF to accessorize your post. Use these as a means of added entertainment or a way to subtly encourage an action on your post. Stick with one or two as to not overload the text.
  10. Use the Questions Sticker. I love the Questions Sticker to get feedback from the audience. Simply ask for their thoughts or opinions — whatever it is you’re looking for! It’s a surefire way to help engage with your  audience on a deeper level.
  11. Add a Location Sticker to reach wider audiences. Just like location tags on static posts, when you tag a location on Stories, your story will appear in the public feed for that location. This is a great sticker to use if you’re hosting a live event or looking to drive traffic to a new storefront
  12. Reply to your DMs. Seems like a no brainer, right? If you have a larger following, this can be a lot of work, but it’s so worth it. Not only will your followers find you more helpful and engaged, but it feels more genuine. At the very least, double tap to like their comment, but do respond if you have the time. It’s so important to spend time on those who have also spent time messaging you.

Remember, social media is all about building relationships. Interacting with your followers shows that there’s a real person behind the account. Listen, respond, engage.

Want more tips on Instagram? Sign up for my webinar on Wednesday, May 29th at 7pm!!

Growing Your Instagram: 6 Easy Tips to Increase Engagement

Growing Your Instagram: 6 Easy Tips to Increase EngagementWith the Instagram app growing at such a rapid pace, you may find it hard to keep your followers engaged. There are millions of posts being shared every day, and it’s up to you to keep your followers interested. But fear not. Today I’m sharing a few tips to keep engagement high and your followers growing.

1. Post Consistently & Frequently

Accounts with the highest fans tend to post 5-7 photos per week. Remember, these posts will only be beneficial if they are creating engagement. Focus on the quality of your content and your copy, keeping in mind personality and tone, to increase and maintain engagement. However much you decide to post, keep it consistent on a week-to-week basis.

2. Create a Unique Hashtag for Your Brand

Create a memorable, unique, fun hashtag for your business. Use this hashtag to create and find a gallery of photos from your audience. A great way to use and spread your hashtag is through photo contests. These contests may take some time to catch on, but be patient. Not only are you creating a way for your followers to interact, but you are simultaneously encouraging more UGC. It’s important to begin including your unique hashtag in any post or correspondence you have with your followers to help it catch on and become a part of your brand.

3. Use Quality Hashtags

The right hashtags expose your photos to a larger audience. Instagram allows for a maximum of 30 hashtags on a post so max them out. You can use a hashtag generator or look at similar accounts to see what they use. We find it helpful to keep a note on your phone so you can easily copy and paste for each post. Using a combination of location, general industry, and specific brand hashtags are a great way to reach the largest audience. To keep hashtags nice and neat, either place them under your caption with space between the two, or as your first comment. In order to format the hashtags in an aesthetically pleasing way, finish your caption, hit return, type a period, hit return again. We recommended creating a five line space between the end of your captions and your set of hashtags.

4. Encourage User Generated Content (UGC)

Using your followers’ images allows you to have a much larger gallery of content to choose from. It will also encourage a more engaged community and true connection between your business and your audience.

5. Include a Call To Action 

A call-to-action (CTA) may include a post with a comment asking your followers to tag a friend, write a comment, or share your post. Not only do these types of posts create more engagement on your page, but it also will spread awareness. In particular, asking your viewers to tag a friend will you’ll widen your audience very quickly.

6. Utilize Cross-Promotions

Use your existing platforms to let people know you’re on instagram. Two easy ways to do this are on Facebook and your website. Simply share your username or a direct link to your page as an easy to have people find you.

Which of these tips do you find the most helpful? Be sure to share any tips you’ve learned along the way!

iPhone Photography: 6 Tips to Better Use Your Camera

 Tips to Better Use Your CameraOften times, the best camera you have is the one right in your back pocket. You can easily seize an opportunity to snap a great pic by pulling it out and clicking away. Today I’m sharing some tips on what you must do when taking photos with your iPhone.

1. Quick,​ Capture it! Sometimes scrambling for your phone, unlocking it, and pulling up the camera app takes too long. Luckily, the iPhone has a pretty nifty feature that allows immediate access to the camera. Pick up your phone, swipe up to the access control feature, and click the camera button. For older iphone models, touch the home button, and swipe left to directly open up your camera.

2.​ ​Get Focused. Now that you’re able to quickly get to your camera, let’s take control of your focus. The iPhone will always try to automate two functions on its own: focus and exposure. Have you noticed that yellow square that shows up when you tap on the screen? That’s the focus feature. Notice how the picture and its tone change as you tap different areas of the photo. Focusing on the right subject can make a huge difference in the story you tell. Make sure to tap exactly what you want in clear focus.

3.​ Adjust Your Exposure. As you click around, you’ll notice the photo will change its brightness, otherwise known as exposure. The iPhone’s exposure feature takes into account brightness, shadows, highlights, contrast, and coloring. It’s better to “underexpose” rather than “overexpose”, meaning it’s better to let your picture be taken a little darker rather than too bright. An underexposed photo can be properly edited to create the look you want. This will be much more difficult with an overexposed, blown out photo. To change the exposure on your camera, tap once to get that focus square over your target subject, then tap again. Hold down your finger and swipe up or down. Swiping down will lower your exposure while swiping up with increase your exposure.

4. ​Don’t Lose It! You’ll want to make sure you’re getting the exact frame, composition, and angle that you want. Moving your camera will automatically change the settings you played around, but lucky, the settings can be locked. Simply hold down your finger on the focus box until you see the AE/AF Lock in yellow on top of your screen.

5. ​Photo Composition.​​ Composition is the act of putting something together, and in photography, we think of it as the arrangement of the visual elements in a photo. A well-known rule for a successful composition is “the rule of thirds”. Imagine there’s a 3×3 grid over your photo. The idea is that if you place the important subjects either at the points of intersection or along the grid lines, it will appear the most attractive for a viewer to look at. The iPhone has a “grid lines” feature to help you see the composition of your photo. To turn it on, just go into Settings, Camera, and then turn on the “grid” section.

6. Use those Headphones, Too. Believe it or not, your iPhone headphones can help you take photos. When plugged in, you can easily snap a picture with the volume buttons. This is great for street photography, where you may want to be subtle with your photo taking. The headphones can also be a lifesaver when you’re using a tripod. Just like a traditional camera, iPhones can be extremely sensitive to movement. Even just the click of a button can create enough movement to blur your photo. When your camera is on a tripod, and you’re able to take the shoot with the headphone buttons, any unwanted movement is eliminated, keeping your photo still and focused.

Stay tuned for an upcoming post on the best iPhone apps! Got any more tips or tricks? Feel free to share your own below!